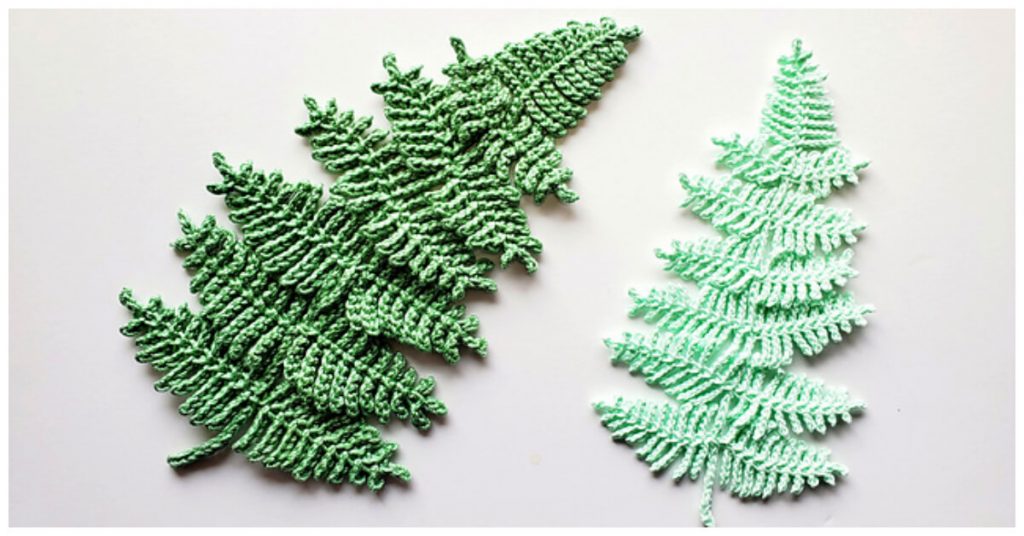
Today we are going to learn How to Crochet fern leaf. It’s a simple and quick little leaf and I think it can be a super chic addition to any flower-y project you are in to. Today I am going to share with you this printable PDF pattern and video tutorial. I love how realistic these leaves look! Another idea for this pattern is to pair these leaves with acorns or another leaf pattern and create your own custom garland.
Crochet leaf patterns can be used for so many different projects. Stitched together, they can make great bunting for decorating a party, classroom, or home decor. As motifs, they can be attached to hats, scarves, bags, and other accessories.
It’s a perfect time to go out for a walk and admire these gorgeous plants we call ferns. I love the beautiful leaves we can crochet with thread and yarn because they look so real. So let’s make this pretty crochet fern leaf. It is made using only chains and slip stitches!
Follow Crochet Fern Leaf Written Pattern/Video Tutorial Below:

Crochet Fern Leaf Pattern For Beginners
- Pinnae 1-3 = 19 pinnules
- 1-3 pinnules = ch 6, sl st in 2nd ch from hook and also in each next 4 ch (total 5 sl st) = 1st pinnule, ch6+slst5 twice more
- 4-5 pinnules = ch5+slst4 twice
- 6-7 pinnules = ch4+slst3 twice
- 8-12 pinnules = ch3+slst2 four times (the 3rd pinnule is the top of pinna), then sl st in space next to 1st ch3+slst2 and make one more ch3+slst2 (so you have 2 smallest pinnules on one side, 1 on top and 2 on the other side of the pinna)
- Important: each time you finish a pinnule on the 2nd side, sl st in space next to corresponding pinnule on the 1st side and then start next pinnule (please see the video for exact stitch placement)
- 13-14 pinnules = ch4+slst3 twice
- 15-16 pinnules = ch5+slst4 twice
- 17-19 pinnules = ch6+slst5 three times
- Ch 7 after 1st and 2nd pinna, ch 6 after 3rd pinna
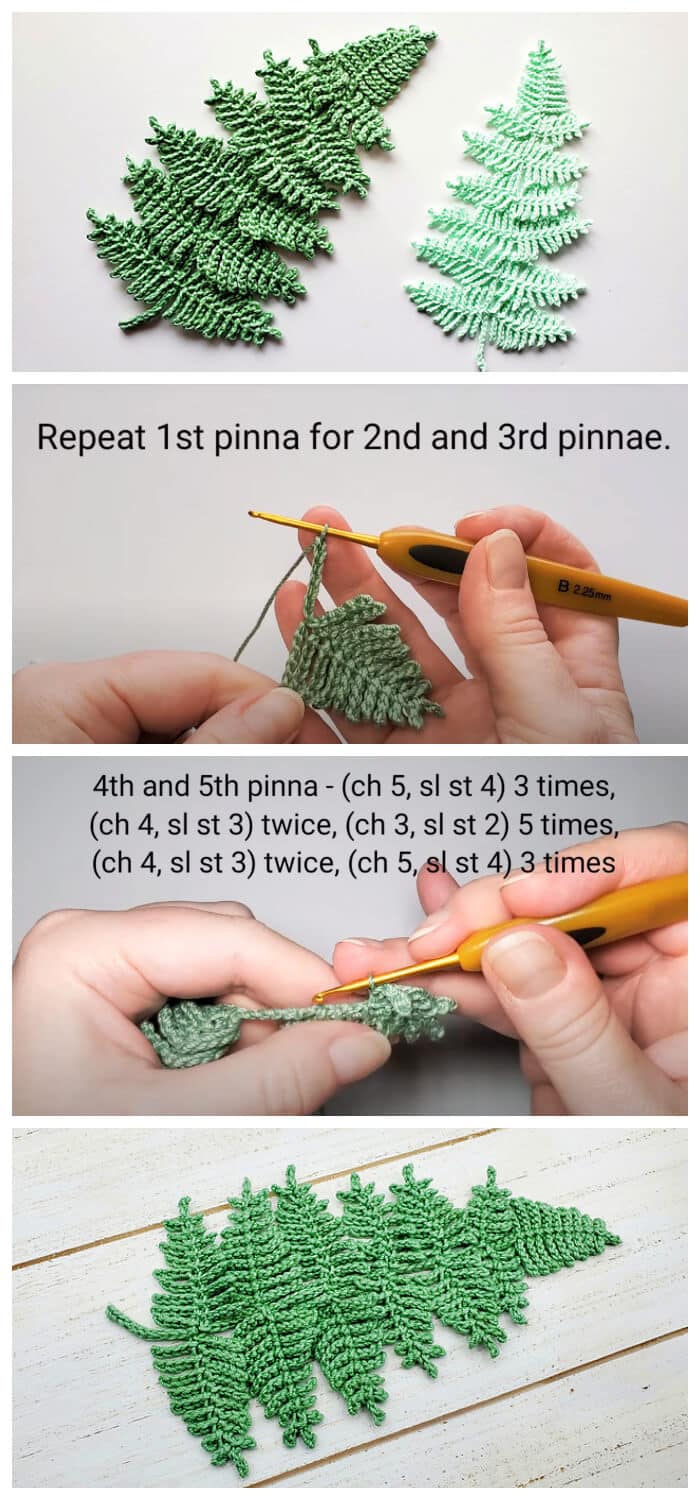
- Pinnae 4-5 = 15 pinnules
- ch5+slst4 three times, ch4+slst3 twice, ch3+slst2 four times, sl st in space next to 1st ch3+slst2 and make one more ch3+slst2, ch4+slst3 twice, ch5+slst4 three times, same as before: each time you finish a pinnule on the 2nd side, sl st in space next to corresponding pinnule on the 1st side and then start next pinnule.
- Ch 6 after 4th pinna, ch 5 after 5th pinna
- Pinna 6 = 11 pinnules
- ch4+slst3 three times, ch3+slst2 four times, sl st in space next to 1st ch3+slst2 and make one more ch3+slst2, ch4+slst3 three times
- Ch 4
- Top pinna = repeat 1st pinna
- Sl st in 4 stem ch
- Pinna 8 = repeat 6th pinna
- Sl st in beg space of pinna (watch the video for stitch placement) and sl st in 5 stem ch
- Pinnae 9-10 = repeat 4th and 5th pinnae
- Between each pinna on the second side sl st into stem chains
- Pinnae 11-13 = repeat 1st pinna
- Sl st in 11 stem chains and fasten off
Written Instruction – PDF Pattern
Follow Crochet-Kingdom.com on your favorite social media – Pinterest – Facebook – Instagram
While you’re in the crafting mood, check out our favorite Crochet Stitch Patterns too!
Well I am here to take the frustration out of searching for your next pattern. I like to find and show you these independent designers and bring their fabulous projects to you. Please always visit and thank the individual designers for their generosity.
Happy Crocheting to you !
