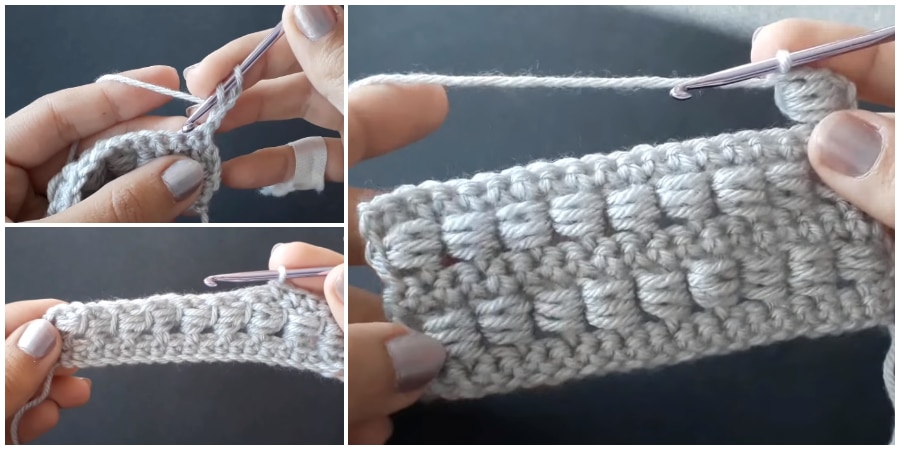
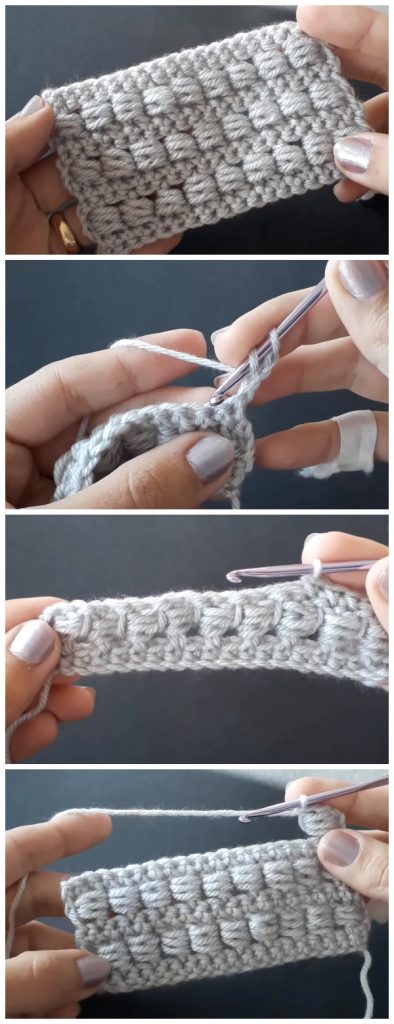
Learn how to create the Crochet Bead Stitch. This works for any size project. Chain in multiples of even numbers, like 30, 32, 34 and whatever. The bead stitch is an easy crochet stitch to make. It is worked the same way as the extended single crochet, but with one extra extension. Instead of just raising the stitch, it actually creates a nice bobble at the front of the fabric after the next single crochet is worked.

The bead stitch is perfect for just about all crochet designs. I’ve had a lot of fun with it so far. I’ve used it in several designs including a hat, bracelets, purse and tote and for baby dress. The bead stitch is similar to a puff stitch but it is worked around a double crochet next to it instead of into the stitch below it.
How to Crochet Bead Stitch ?
The Bead Stitch is a fun and easy crochet stitch that adds texture and interest to your projects. It creates a series of small “beads” or “popcorn” stitches that are scattered throughout the work. To create the bead stitch, you start by making several double crochets into the same stitch. Then, you remove your hook from the loop and insert it from front to back through the first double crochet you made. Finally, you pick up the dropped loop and pull it through the stitch to create the bead. The bead stitch can be used in a variety of projects, such as blankets, scarves, and hats, to add dimension and texture. With a few simple steps, you can add a touch of whimsy to your crochet creations with the Bead Stitch.
Follow Crochet Bead Stitch Pattern Below:

Skill level: Beginner
Bead St = Bead stitch
- [YO, insert hook around stem of previous dc from right to left, YO, bring up loop] 4 times
- YO, pull through 8 loops
- YO pull through 2 remaining loops
Row 1: One Sc in the 2nd chain from crochet hook. One Sc in each chain space across to the end.
Row 2: Chain 3 (Counts as your first Dc stitch), turn. Row 1: One Sc in the 2nd chain from crochet hook. One Sc in each chain space across to the end.
Skip the first stitch space.
Dc in the next stitch space. Slsc around the Dc stitch you just made.
Skip the next stitch space. Repeat * to * across row.
Ending Row 2 with skip one stitch space and Dc in the last turning chain.
Row 3: Chain 1, turn. Make one Sc stitch in each stitch space across.
Sc on top of the first Slcl, Sc on top of Dc.
Repeat * to * across row. Ending with a Sc on top of the 3rd turning chain.
Repeat Rows 2 & 3 for pattern. Making sure to end on a Row 3 for a Flat Top.
Edging:
Ch 1, rotate to work across row ends, place 24 sc evenly across, (sc, ch 1, sc) in corner, rotate to work opposite side of starting ch, 24 sc, (sc, ch 1, sc) in corner, rotate to work across row ends, place 24 sc evenly across, (sc, ch 1, sc) in corner, rotate to work across Row 15, sc in each across to end (24 sc), ch 1, sl st to 1st sc to join.
Fasten off, weave in remaining ends.
How to Crochet the Bead Stitch
BLOCKED BEAD STITCH
BEAD STITCH
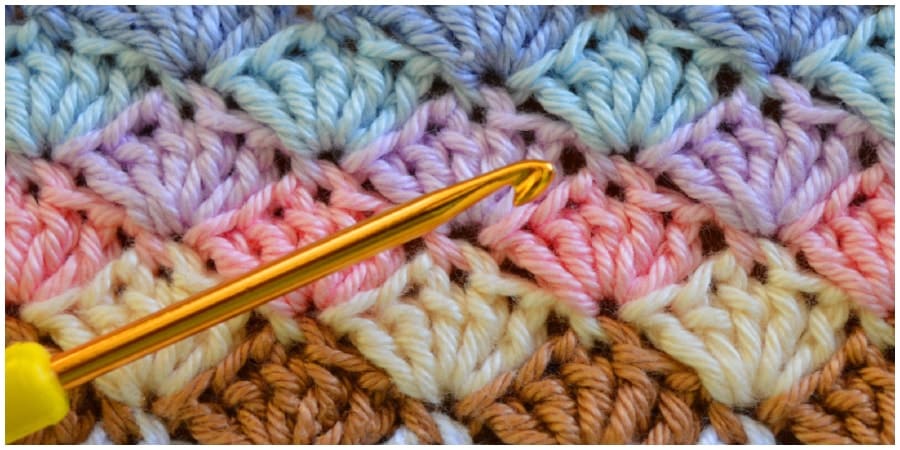
This Crochet Box Stitch step by step video tutorial, allows you to learn a new crochet stitch quickly and easily. You will also know what stitches to use to crochet this pattern, what yarn to buy and what hooks are the best. Check out the source for the tutorial here – Crochet Box Stitch

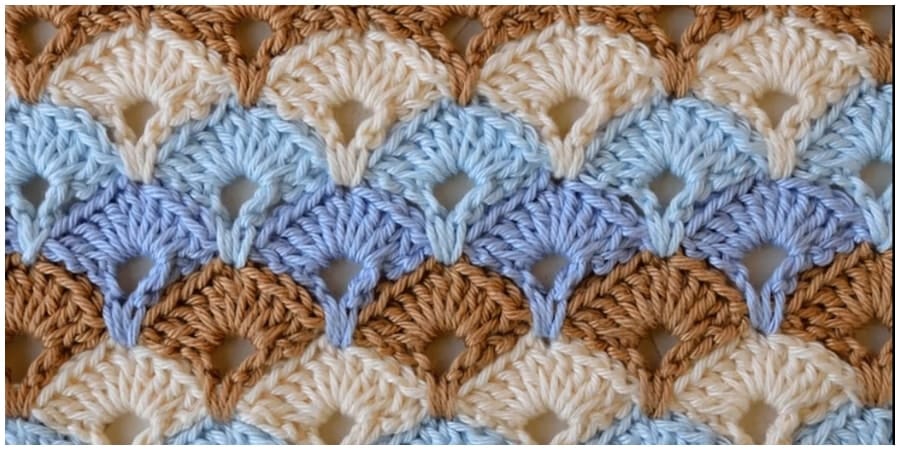
This pretty stitch is simple to learn and great for many different types of crochet projects. The crochet shell stitch can be made by placing several stitches into the same stitch. Check out the source for the tutorial here – Crochet Shell Stitch

Follow Crochet-Kingdom.com on your favorite social media – Pinterest – Facebook – Instagram
Well I am here to take the frustration out of searching for your next pattern. I like to find and show you these independent designers and bring their fabulous projects to you. Please always visit and thank the individual designers for their generosity.
Happy Crocheting to you !
